At Home Brow Lamination Guide for Salon-Quality Results
Over 65 percent of American beauty enthusiasts prefer at-home treatments for their brows over frequent salon visits. Choosing to laminate your brows at home is not just about convenience but also about controlling each step for flawless results. With clear instructions and the right supplies, you can master professional-grade brow lamination from your own space and achieve a look that rivals any salon in the United States.
Table of Contents
- Step 1: Gather Essential Brow Lamination Supplies
- Step 2: Prep Brows for Optimal Lamination
- Step 3: Apply Lamination Solution Safely
- Step 4: Shape and Set Brows for Long-Lasting Hold
- Step 5: Check Results and Maintain Brows Properly
Quick Summary
| Key Insight | Explanation |
|---|---|
| 1. Assemble Essential Supplies | Gather professional-grade tools like lifting balm and keratin gel to ensure effective brow lamination at home. |
| 2. Prep Brows Thoroughly | Cleanse brows to remove oils and perform a patch test 24-48 hours before application to prevent allergic reactions. |
| 3. Apply Lamination Carefully | Follow product instructions for even application, protecting the skin with petroleum jelly during the lamination process. |
| 4. Shape and Set Properly | Use neutralizing balm to set brows, followed by optional tinting and apply keratin treatment gel to nourish brows. |
| 5. Maintain Brows After Treatment | Follow strict aftercare for 48 hours and use a nourishing serum weekly to keep brows looking fresh and healthy. |
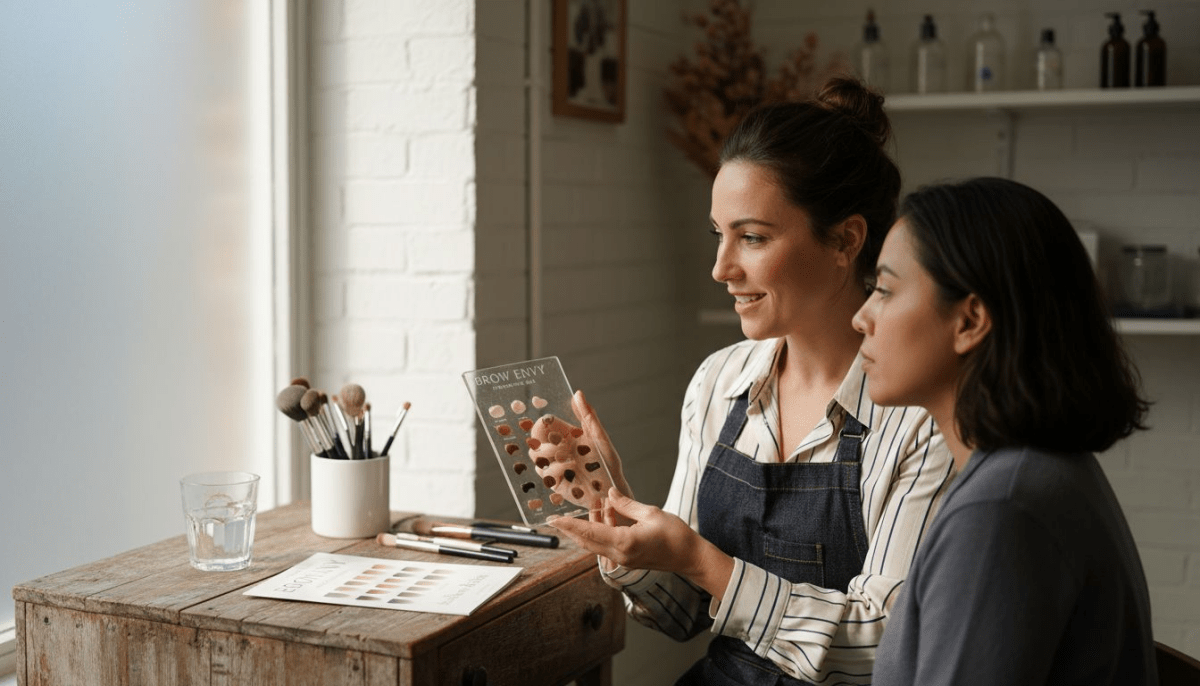
Step 1: Gather Essential Brow Lamination Supplies
Successfully performing a brow lamination at home requires having the right professional-grade tools and products ready before you begin. Professional brow lamination workflows depend on precision and quality supplies that mimic salon techniques.
Your essential supply kit should include key products from the Brow Lamination Manual, which recommends specific professional components. You will need:
- Lifting balm
- Neutralizing balm
- Keratin treatment gel
- Brow wax
- Tinting products (optional)
- Precision applicator brushes
- Disposable mascara wands
- Clean spoolies
- Protective eyewear
- Petroleum jelly (for skin protection)
Professional results require professional preparation. Double check that all your products are fresh, unopened, and specifically designed for brow lamination. Store them at room temperature and away from direct sunlight to maintain product integrity.
Once your supplies are assembled, you are ready to transform your brows with salon quality precision right from your home workspace.
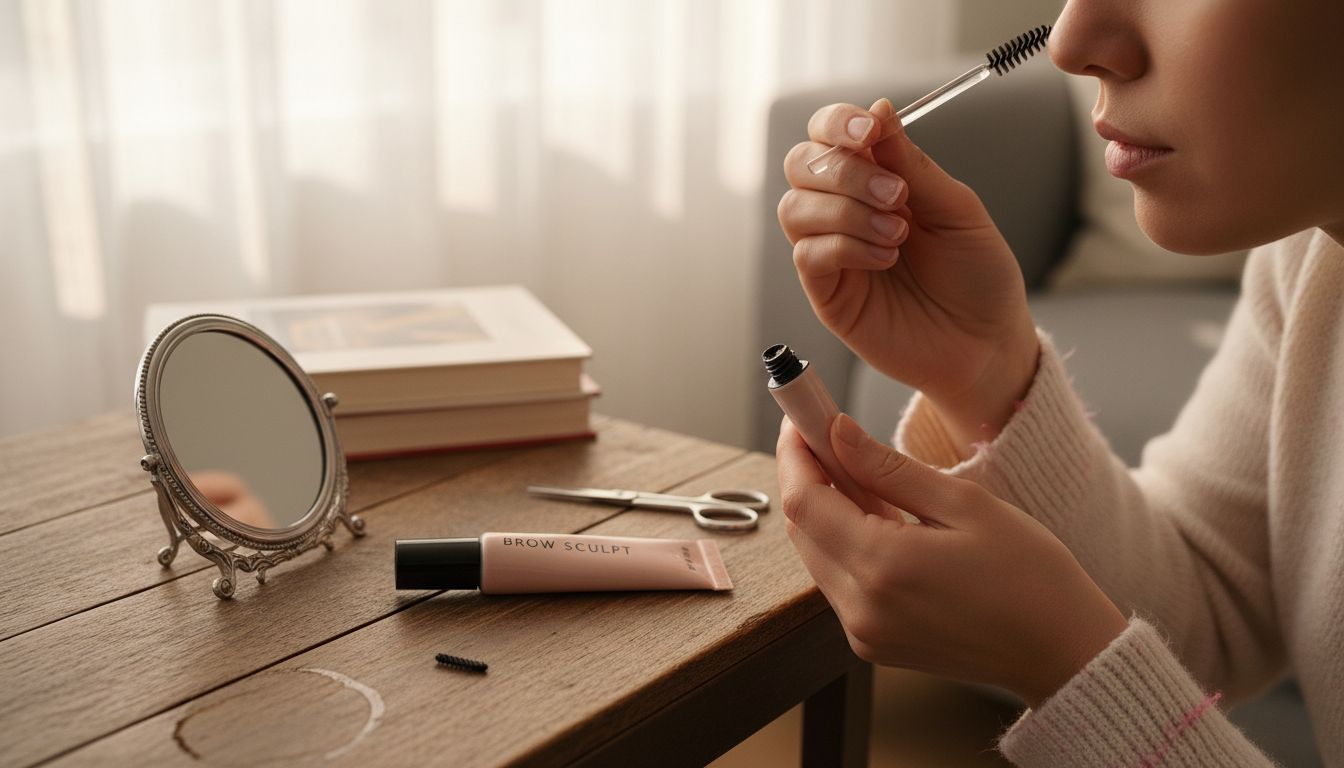
Step 2: Prep Brows for Optimal Lamination
Brow preparation is a critical step that sets the foundation for a successful lamination process. Understanding how to properly prepare your eyebrows will significantly impact the final results and ensure a professional looking outcome.
Start by thoroughly cleansing your brows to remove any makeup, oils, or residue. Use an oil free makeup remover or gentle facial cleanser to create a clean surface. After cleansing, carefully assess your brow texture and thickness to customize your lamination approach. Some brows might require different processing times based on their natural characteristics.

Before proceeding with the full treatment, perform a critical patch test 24 to 48 hours in advance to check for potential skin sensitivities or allergic reactions. Apply a small amount of the lifting solution behind your ear or on your inner arm and monitor for any redness, irritation, or unusual skin responses. This precautionary step prevents potential adverse reactions and ensures your skin tolerates the lamination products.
Trim any stray hairs with precision scissors and brush your brows upward to understand their natural growth pattern. This preparation will help you apply the lamination products more effectively and achieve a more uniform result. Your brows are now primed and ready for the transformative lamination process.
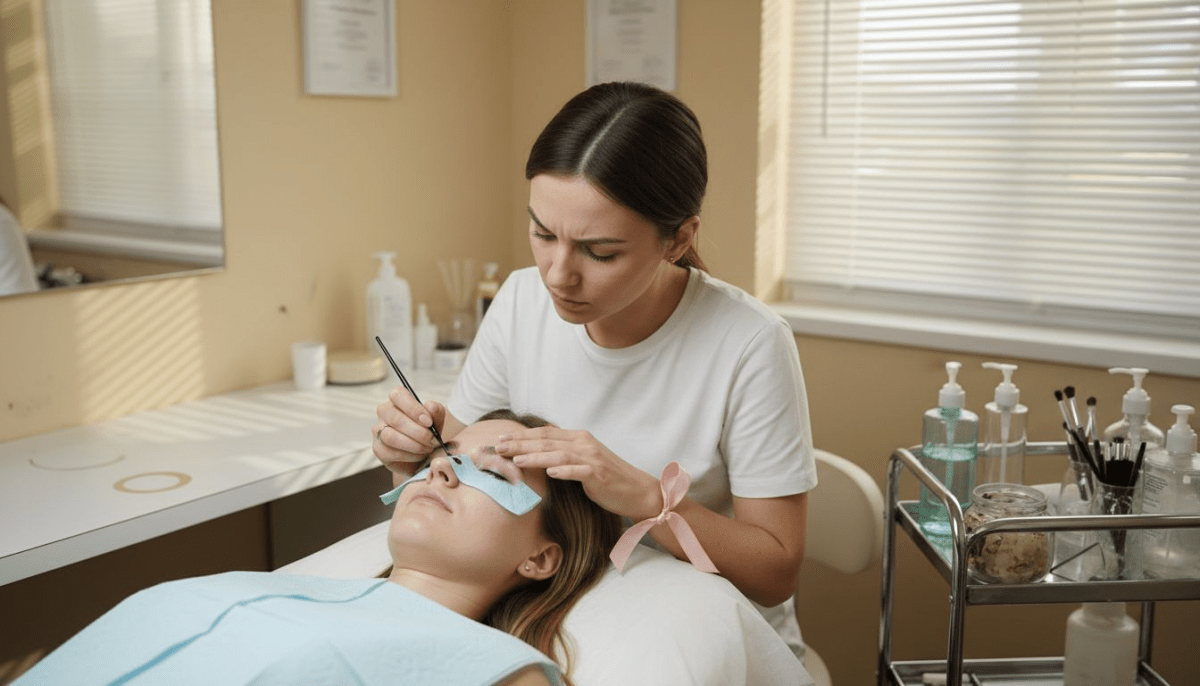
Step 3: Apply Lamination Solution Safely
Applying the lamination solution requires precision and careful attention to detail to achieve salon quality brow transformation. Understanding the correct application technique will help you avoid potential mistakes and ensure optimal results.
Carefully follow the manufacturer’s instructions when applying your lifting balm. Start by using a clean spoolie to brush your brow hairs upward into the desired shape and positioning. Apply the lifting balm evenly across your brows using gentle strokes. Once applied, cover the eyebrow area with cling film to create a controlled environment that helps the solution penetrate effectively.
Pay close attention to processing times recommended by the product manufacturer. Different brow textures and hair types may require slightly varied application durations. Use a timer to ensure you do not leave the solution on longer than specified. Leaving the product on too long can potentially damage your brow hairs or cause unwanted chemical reactions.
Remember to work in a well ventilated area and wear protective gloves during the entire process. Keep the solution away from your eyes and skin by applying a thin layer of petroleum jelly around your brow area as a protective barrier. Your careful and methodical approach will help you achieve professional looking brows from the comfort of your home.
Step 4: Shape and Set Brows for Long-Lasting Hold
Transitioning from the lamination solution to the final shaping stage requires precision and careful technique to achieve salon quality brow results. This critical phase will transform your brows into a perfectly sculpted masterpiece that holds its shape throughout the day.
Apply the neutralizing balm systematically to set the brow hairs in their newly positioned shape. Use a clean spoolie to brush the hairs gently upward and outward, maintaining the lifted appearance created during the previous steps. Work quickly and precisely to ensure even coverage and consistent positioning across both eyebrows.
After neutralizing, consider optional tinting to enhance color and definition. Complete the process by applying a keratin treatment gel which nourishes the brow hairs and helps maintain their new shape. Gently smooth the gel through your brows using light strokes, ensuring each hair is coated without creating excess buildup. Allow the gel to dry completely before touching or styling your brows to preserve the laminated effect and achieve that coveted professional looking finish.
Your perfectly shaped and set brows are now ready to showcase a polished and refined appearance that will turn heads and boost your confidence.
Step 5: Check Results and Maintain Brows Properly
With your brow lamination complete, understanding proper aftercare becomes crucial to preserving your beautifully transformed eyebrows. This final stage ensures your hard work and precise application translate into long lasting salon quality results.
Follow strict aftercare protocols during the first 48 hours to protect your newly laminated brows. Avoid exposing your brows to excessive moisture like swimming pools or saunas. Keep the brow area completely dry for at least 24 hours after treatment to allow the lamination solution to fully set and maintain its shape. Resist the temptation to apply makeup or touch your brows during this critical stabilization period.
Establish a daily maintenance routine that includes gentle brushing with a clean spoolie to keep your brows looking polished and neat. Apply a nourishing brow serum or conditioning treatment weekly to keep the hair healthy and maintain the laminated appearance. Be mindful of using oil free products around your brow area, as excess oils can gradually break down the lamination effect.
Proper maintenance will help your brow lamination look fresh and stunning for several weeks. With consistent care, you can enjoy professionally styled brows that frame your face and boost your confidence.
Achieve Stunning Salon-Quality Brows at Home with Professional Supplies
Taking control of your brow lamination journey means having the right products to ensure safety, precision, and lasting beauty. This guide highlights the importance of using professional-grade lifting balms, neutralizing solutions, and keratin gels for flawless results without stepping into a salon. If you want to avoid common pitfalls like uneven lamination or product damage, investing in trusted materials is essential.
Discover how Brow Lamination Products for Professionals Buy USA can elevate your home treatments with salon-quality ingredients trusted by beauty experts.

Ready to master your perfect brows that last? Explore our curated selection of professional supplies at Fraustore USA today. Take the next step toward confidently transforming your look with expert tools and guidance from LOVELY BROWS. Don’t wait to start your journey toward beautifully laminated brows that turn heads and boost your confidence.
Frequently Asked Questions
How do I prepare my brows for lamination at home?
To prepare your brows for lamination, start by cleansing them thoroughly to remove makeup and oils. Trim any stray hairs to define your shape and perform a patch test 24 to 48 hours beforehand to check for skin sensitivities.
What supplies do I need for at-home brow lamination?
You need specific supplies including lifting balm, neutralizing balm, keratin treatment gel, brow wax, precision applicator brushes, and protective eyewear. Assemble these tools in one place to ensure you have everything ready for a seamless lamination process.
How long should I leave the lamination solution on my brows?
The lamination solution should be left on according to the manufacturer’s recommended processing time, usually around 5 to 15 minutes. Use a timer to avoid damaging your brow hairs by keeping the solution on too long.
What aftercare is necessary following brow lamination?
After brow lamination, keep your brows dry and avoid moisture for the first 24 hours. Establish a daily routine of gentle brushing and weekly conditioning to maintain the laminated look for 4 to 6 weeks.
Can I tint my brows after lamination?
Yes, you can tint your brows after lamination to enhance color and definition. Apply the tint after neutralizing but before using the keratin treatment gel for optimal results.
How do I achieve even results during brow lamination?
To achieve even results, apply the lamination solution evenly with a clean spoolie and maintain consistent timing across both brows. Work methodically to ensure both eyebrows are shaped and set in the same manner for a polished final outcome.