Lash Lift Timing Guide for Perfect Results Every Time
Precision matters with every lash lift, yet over 60 percent of American salon clients report concerns about inconsistent results and processing times. For licensed estheticians serving busy beauty salons across the United States, mastering a streamlined timing approach directly impacts client satisfaction and productivity. Understanding how to tailor each step to individual lash types transforms routine appointments into standout experiences for your American clientele.
Table of Contents
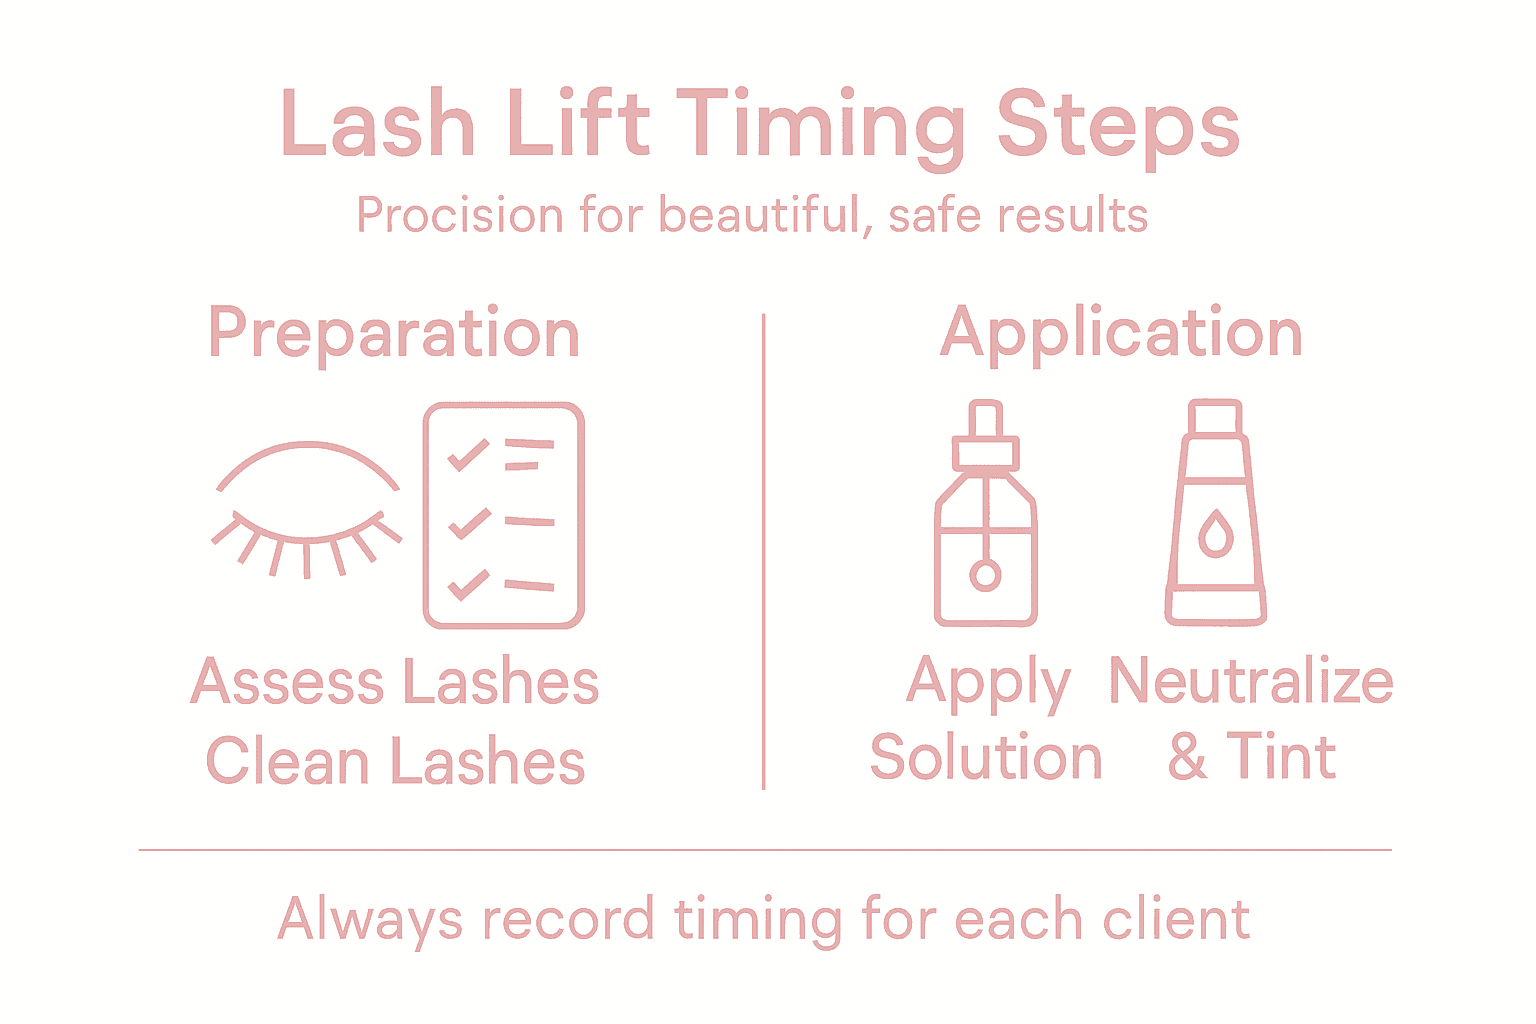
- Step 1: Assess Client’s Lash Type and Condition
- Step 2: Prepare Lashes and Select Proper Solution
- Step 3: Apply Lifting Solution With Correct Timing
- Step 4: Neutralize and Tint Lashes Within Ideal Timeframes
- Step 5: Check Results and Adjust Timing if Needed
Quick Summary
| Main Insight | Explanation |
|---|---|
| 1. Assess Lash Condition First | A thorough assessment of lash health prevents damage and informs treatment decisions. Understanding client characteristics is essential for a successful lash lift. |
| 2. Use Proper Cleansing Techniques | Removing all makeup and oil ensures the lifting solution works effectively. Dirty lashes can lead to uneven results or damage. |
| 3. Monitor Timing During Application | Precise timing when applying lifting solutions is crucial in achieving the desired curl without overprocessing. Adjust timing based on lash characteristics for best results. |
| 4. Neutralization is Essential | Properly neutralizing the lashes locks in the curl and enhances safety. This step is critical for ensuring the longevity of the treatment. |
| 5. Track Client Responses Diligently | Documenting each client’s lash characteristics and treatment responses allows for personalized adjustments in future sessions, improving overall outcomes. |
Step 1: Assess Client’s Lash Type and Condition
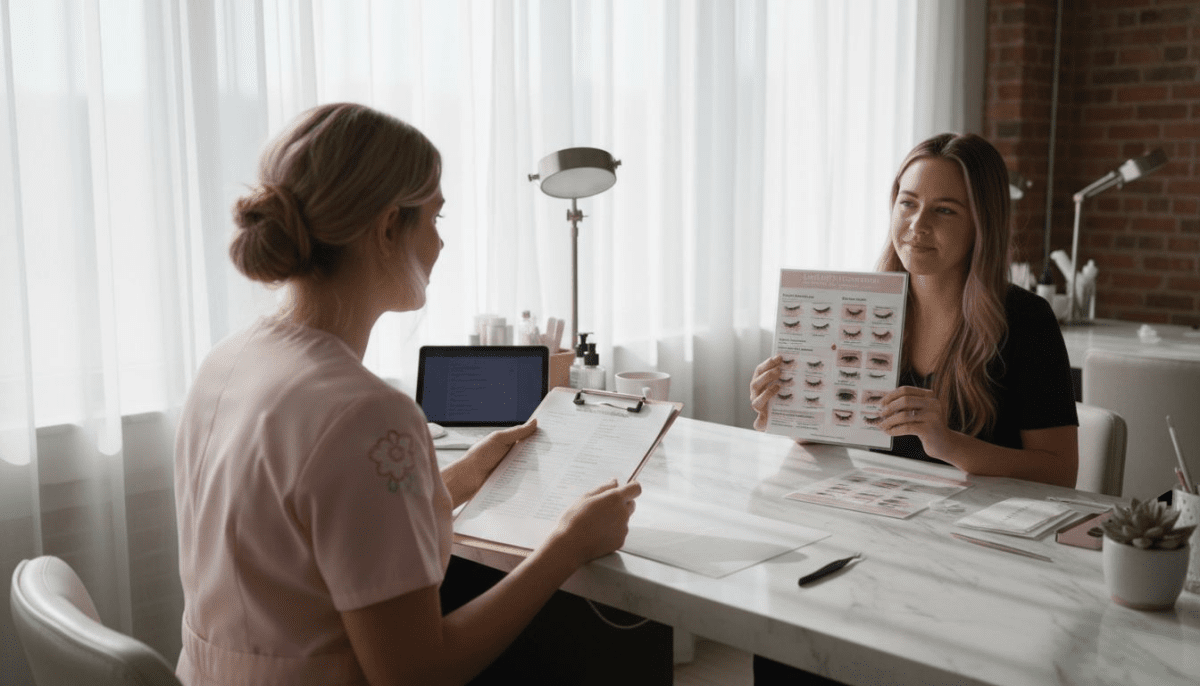
Successfully preparing for a lash lift begins with a comprehensive assessment of your client’s natural lashes. Understanding lash health is crucial to determining the appropriate treatment approach and preventing potential damage.
Start by conducting a thorough visual and tactile examination of the client’s lashes. Look for key indicators such as lash thickness, length, natural curl pattern, and overall condition. Check for signs of brittleness, breakage, or previous damage that might impact the lash lift procedure. Pay special attention to lash density and strength, as these factors directly influence how well the lashes will respond to the lifting solution. Some clients may have naturally thin or fragile lashes that require a gentler approach or might not be ideal candidates for a full lash lift treatment.
Carefully document your observations and discuss potential concerns with your client before proceeding. Professional lash assessment techniques recommended by ophthalmology experts emphasize the importance of transparency and client consultation during this initial evaluation stage.
Pro tip: Always perform a patch test and have clients complete a detailed health questionnaire to identify any potential allergies or contraindications before beginning the lash lift procedure.
Here’s a summary of how lash characteristics impact treatment decisions:
| Lash Type | Recommended Solution Strength | Typical Processing Time |
|---|---|---|
| Fine/Fragile | Gentle solution | 8-10 minutes |
| Average | Standard solution | 10-12 minutes |
| Thick/Strong | Stronger solution | 12-15 minutes |
Step 2: Prepare Lashes and Select Proper Solution
Successfully preparing for a lash lift requires meticulous attention to detail and precise preparation techniques. Thorough lash cleaning methods form the critical foundation for achieving salon quality results.
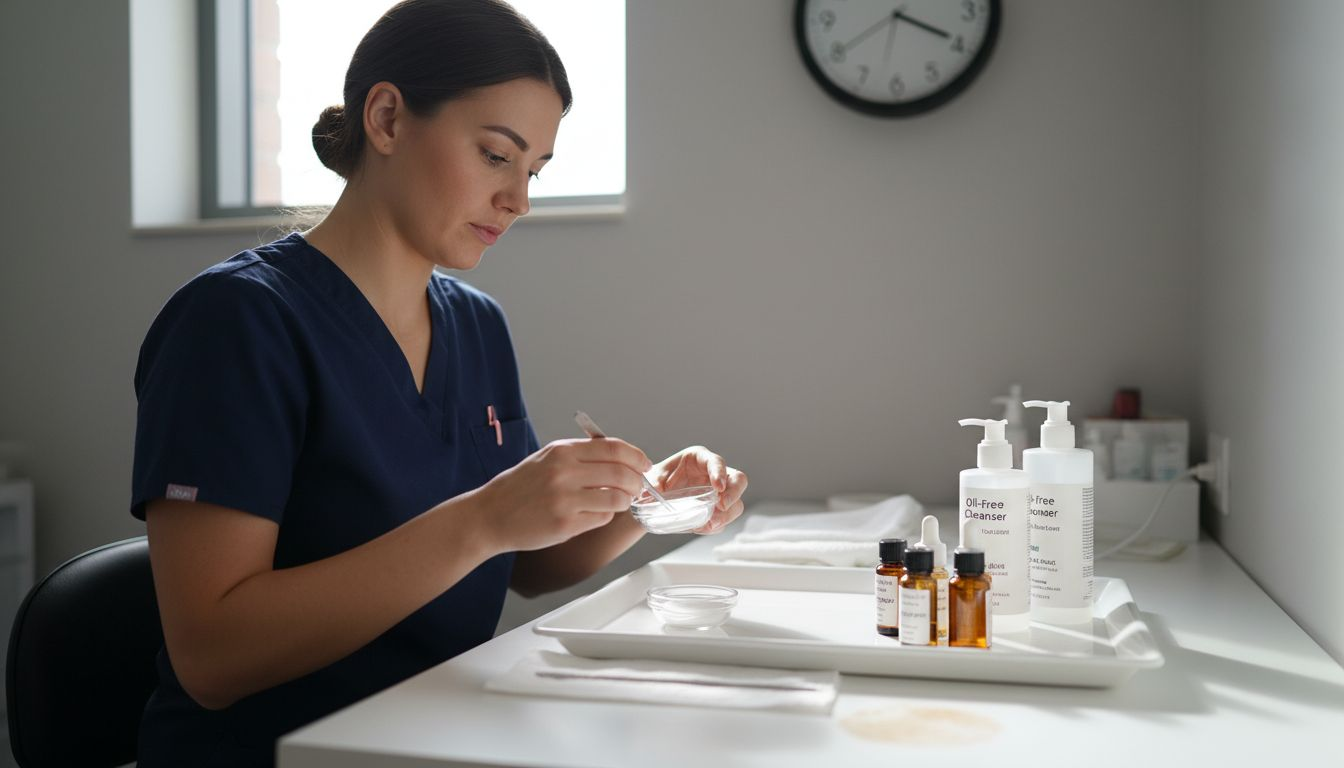
Begin by completely removing all makeup residue and oils from the client’s lashes using a specialized oil-free cleanser. Gently cleanse the lashes and surrounding eye area, ensuring no traces of makeup or natural skin oils remain that could interfere with the lifting solution’s effectiveness. After cleaning, use lint-free applicators to carefully separate and isolate each lash, preparing them for the silicone shield or rod placement. Select your lifting solution based on the client’s specific lash type and desired curl intensity. Solution timing and application techniques require precision to prevent overprocessing and ensure optimal results.
Carefully examine the lashes post-cleaning to confirm they are completely dry and free from any potential contaminants before proceeding with shield placement and solution application. This meticulous preparation helps guarantee a smooth and successful lash lift procedure.
Pro tip: Always keep multiple solution viscosities and strengths on hand to accommodate different lash types and client preferences.
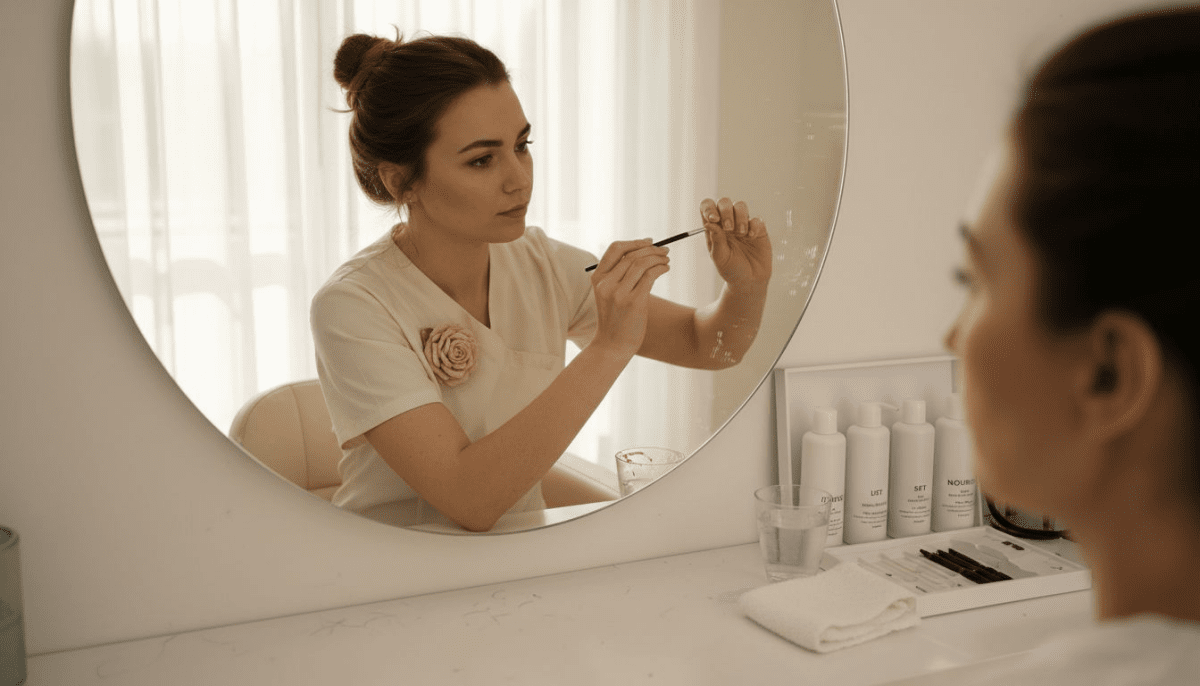
Step 3: Apply Lifting Solution With Correct Timing
Precision is paramount when applying the lifting solution to achieve beautifully curled lashes without causing damage. Disulfide bond restructuring requires careful timing and expert technique to create the perfect curl.
Apply the lifting solution systematically using a small, precise applicator. Begin at the base of the lashes and work your way toward the tips, ensuring even and complete coverage. Watch the clock carefully and monitor the chemical processing closely. Professional lash technicians know that solution timing varies dynamically based on individual lash characteristics such as thickness, strength, and natural texture. Typically, the solution remains on lashes for approximately 10 to 15 minutes, but this can fluctuate depending on the client’s specific lash type and desired curl intensity.
Constantly observe the lashes during processing, checking for signs of effective restructuring without overprocessing. Look for gradual softening and malleability that indicates the solution is working correctly. Your goal is to achieve a smooth, consistent curl that looks natural and enhances the client’s eye shape.
Pro tip: Always perform a patch test and maintain a detailed log of solution application times for each client to ensure consistent and safe results.
Step 4: Neutralize and Tint Lashes Within Ideal Timeframes
After achieving the perfect lash lift, the neutralization and tinting process becomes critical for long lasting results. Chemical eye safety protocols require precision and careful technique to protect your client’s eye health.
Apply the neutralizing solution systematically, ensuring complete and even coverage across all lashes. The neutralizer works to lock in the newly created curl, stabilizing the chemical restructuring process. Most professional formulations require approximately 10 to 15 minutes of processing time. Pay close attention to the lashes during this stage monitoring for consistent color development and curl retention. After neutralization, proceed with tinting if the client desires enhanced lash definition. Professional tinting solutions typically last between 6 to 8 weeks and can dramatically improve the visual impact of the lash lift.
Carefully remove all chemical solutions using soft cotton pads and gentle dabbing motions. Always work from the base of the lashes to the tips to prevent potential solution migration into the client’s eyes. Verify that all solutions are completely removed and the lashes maintain their desired shape and intensity.
Pro tip: Keep detailed records of each client’s unique lash characteristics and solution processing times to ensure consistently safe and stunning lash lift results.
Step 5: Check Results and Adjust Timing if Needed
The final stage of a successful lash lift involves careful evaluation and potential recalibration to ensure optimal client results. Professional assessment techniques require a keen eye and understanding of lash response dynamics.
Critically examine the lash curl immediately after processing, looking for consistent lift and uniformity across all lashes. If the curl appears uneven or insufficient, you may need to reapply the lifting solution for a shorter duration. Conversely, if lashes look overprocessed or appear brittle, reduce future solution application times. Dynamic timing adjustments are essential for preventing potential lash damage and ensuring client satisfaction. Pay close attention to each client’s unique lash characteristics. Some individuals may require more gentle processing, while others can tolerate slightly longer solution times.
Document your observations meticulously. Note the exact processing times, solution strengths, and client’s lash response for future reference. This systematic approach allows you to personalize and refine your technique for each unique client, ultimately delivering consistently exceptional lash lift results.
Pro tip: Create a detailed client card tracking individual lash characteristics, processing times, and solution responses to develop a personalized approach for future treatments.
This table highlights key safety and outcome checkpoints for each lash lift stage:
| Step | Main Checkpoint | Reason for Importance |
|---|---|---|
| Assessment | Identify lash health issues | Prevents damage |
| Preparation | Complete lash cleansing | Ensures solution effectiveness |
| Solution Application | Accurate timing | Avoids under/overprocessing |
| Neutralizing & Tinting | Full chemical removal | Eye safety and lash health |
| Results Review | Curl uniformity assessment | Ensures client satisfaction |
Master Lash Lift Timing With Professional Tools and Products
Achieving the perfect lash lift requires precise timing and expert technique to ensure beautifully curled lashes without damage. This guide highlights key challenges such as correct solution application, lash type assessment, and neutralizing steps that every beauty professional must master. If you want to confidently deliver flawless lash lifts every time, relying on high-quality products designed for exact timing and application is essential.
Unlock your full potential with our curated range of Professional Lash Lift Compounds tailored to various lash types so you can control solution strength and processing times precisely. Complement your service with our premium Lash Lift Shields & Pads | Pro Silicone Tools USA for gentle lash isolation and perfect lift shaping. Dont overlook the importance of reliable adhesives from our Lash Lift Glues & Balms for Professionals collection that ensure secure application without compromising lash health.
Ready to transform your lash lift service with products that empower precision and safety? Visit Fraustore USA now and equip yourself with professional-grade supplies crafted for perfect results. Elevate your client satisfaction today by investing in tools that make every minute count.
Frequently Asked Questions
What is the ideal timing for a lash lift?
The ideal timing for a lash lift typically ranges from 10 to 15 minutes, depending on the client’s lash type and desired curl intensity. Begin by assessing the lashes and applying the lifting solution accordingly to achieve the best results.
How do I determine the right solution strength for my client’s lashes?
To determine the right solution strength, assess the client’s lash characteristics such as thickness, length, and overall condition. Use a gentle solution for fine or fragile lashes and stronger formulations for thick or strong lashes to prevent damage and ensure effective results.
How can I assess if my client’s lashes are overprocessed?
Check for signs of brittleness or excessive curl after the lifting procedure to assess if the lashes are overprocessed. If the lashes feel dry or look damaged, adjust the solution timing for future treatments to enhance their health and appearance.
What should I do if the curl appears uneven after processing?
If the curl appears uneven, you may need to reapply the lifting solution for a shorter duration to correct it. Monitor the processing time closely to ensure a consistent result across all lashes during the next session.
How often can a client safely have a lash lift?
Clients can typically have a lash lift every 6 to 8 weeks, allowing time for natural lash growth and recovery. Keep track of the individual client’s lash response and adjust the timing to maintain lash health.
What role does tinting play after a lash lift?
Tinting enhances the definition of the lashes after a lift, making them appear darker and more prominent. Apply a professional-grade tint following the neutralization stage for optimal visual impact lasting up to 6 to 8 weeks.