Lash Lift Troubleshooting Guide for Flawless Results
Nearly 1 in 3 lash lift treatments face issues like uneven curl or lash damage, often due to small mistakes during the procedure. Anyone aiming for flawless, lasting results needs to know what causes these problems and how to address them promptly. Mastering each step, from assessing lash health to fine-tuning your technique, not only enhances the look but also protects lash integrity for every client.
Table of Contents
- Step 1: Assess Common Lash Lift Problems
- Step 2: Check Lash Health and Preparation
- Step 3: Evaluate Solution Application Techniques
- Step 4: Adjust Timing and Processing Methods
- Step 5: Verify Results and Maintain Lash Health
Quick Summary
| Key Point | Explanation |
|---|---|
| 1. Assess lash lift problems early | Identify issues like uneven curl or overprocessing to ensure professional results and maintain lash integrity. |
| 2. Thoroughly check lash health before treatment | Evaluate existing lash conditions and avoid lifting if damage or sensitivity is present to ensure safety. |
| 3. Master solution application techniques | Use precise application and appropriate silicone pad size for consistent, natural-looking results in lash lifts. |
| 4. Adjust processing times based on lash type | Monitor lash reactions closely, adjusting processing times to avoid damage and achieve optimal lift for each client. |
| 5. Verify results and maintain lash health | Check for consistent curl and lash health post-lift, advising clients on conditions requiring further attention and care. |
Step 1: Assess Common Lash Lift Problems
Understanding and identifying common lash lift issues is crucial for achieving professional results. According to research from Blink n Bling Beauty, frequent mistakes in lash lifts can significantly impact the final appearance and health of the lashes.
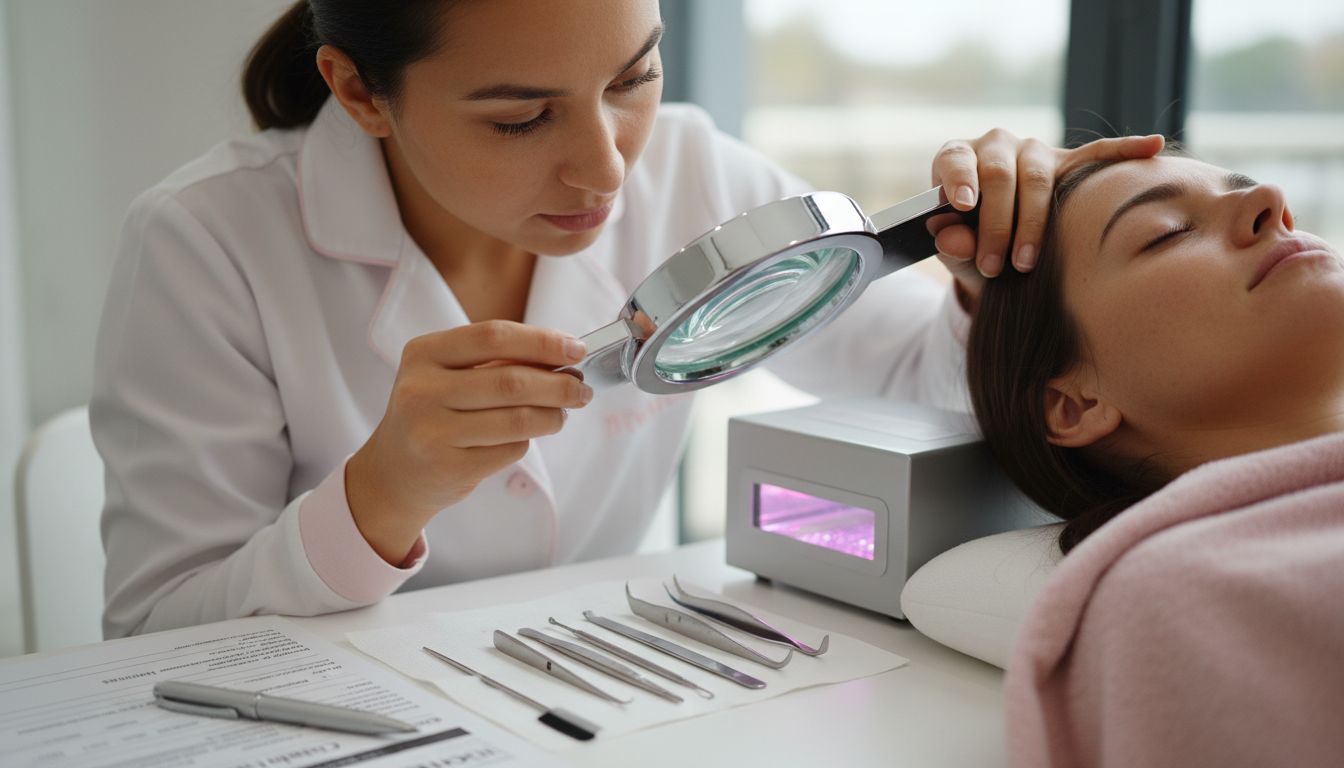
Professional lash technicians should carefully examine the following problem areas: solution application, rod size selection, and processing duration. Incorrect solution strength or application technique can lead to uneven curl, damage to lash structure, or lackluster results. Pay close attention to how the lashes respond during each stage of the lift process. Look for signs such as overprocessing (indicated by brittle or excessively dry lashes), uneven curl patterns, or lashes that appear flat instead of beautifully lifted.
![]()
One critical warning: always perform a thorough visual and tactile assessment before, during, and after the lash lift procedure. Your goal is to catch potential issues early and make micro adjustments that preserve lash integrity. For more detailed insights into perfecting your technique, check out our guide on lash lift tips.
Step 2: Check Lash Health and Preparation
Before beginning a lash lift, a comprehensive health assessment is critical for ensuring safe and successful results. According to Cleveland Clinic, it is essential to evaluate existing lash conditions and avoid treatments if any signs of damage or sensitivity are present.
The preparation process involves several key steps to optimize lash health and treatment effectiveness. As Army Market recommends, thorough cleansing is paramount to remove oils, makeup residues, and potential debris that could compromise the lift. Examine each client’s lashes carefully for any signs of irritation, breakage, or underlying skin conditions. A detailed consultation should include discussing recent eye treatments, allergies, and any medication that might affect lash sensitivity.
One critical warning: never proceed with a lash lift if you observe any inflammation, active eye infections, or significant lash damage. For those seeking more detailed professional insights, our professional lash lift steps guide offers comprehensive techniques to ensure optimal results while maintaining lash integrity.
Step 3: Evaluate Solution Application Techniques
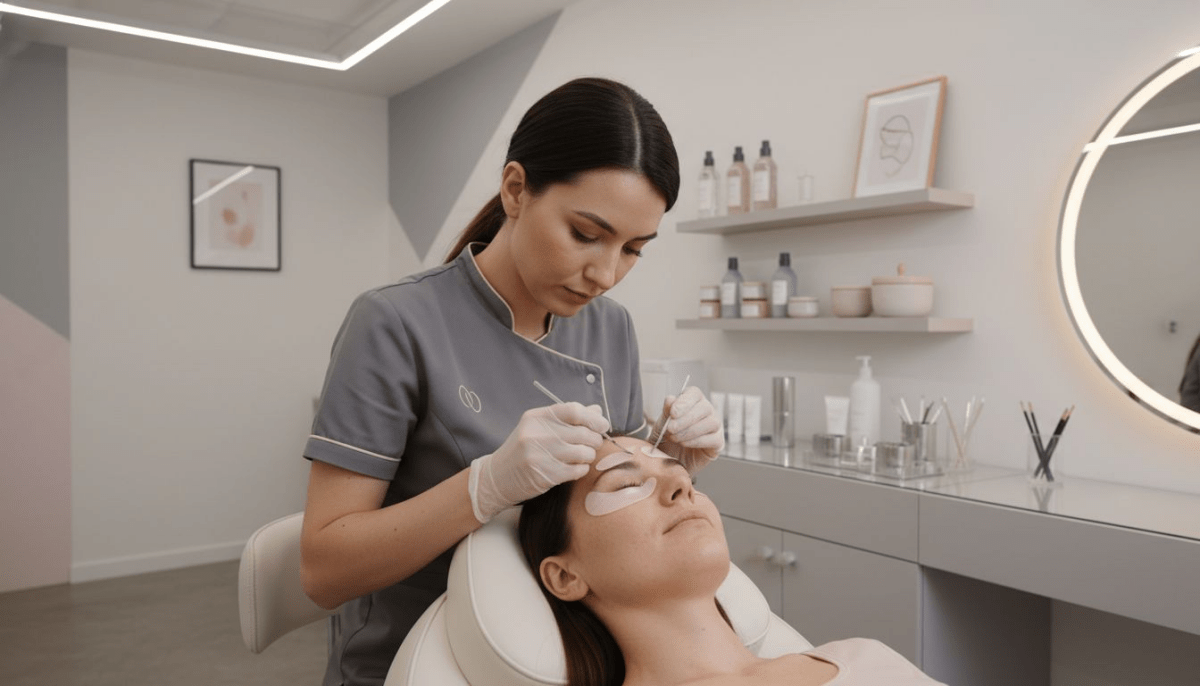
Mastering solution application is crucial for achieving a perfect lash lift that looks natural and lasts. According to research from Squarespace Static, proper application begins with creating an optimal foundation by ensuring lashes are completely clean and dry before starting the procedure.
The key to successful solution application lies in precision and technique. Start by selecting the appropriate silicone pad size that matches your client’s natural lash length and eye shape. Position the pad carefully and secure it close to the lash line to prevent any movement during the treatment. This strategic placement is critical because even minor shifts can dramatically impact the final curl and symmetry of the lashes. Pay close attention to how the lashes adhere to the silicone pad, making sure each lash is individually separated and positioned perfectly before applying the lifting solution.
One critical warning: timing is everything. Over or under processing can lead to damaged or ineffective results. Learn more about professional lash lift techniques in our comprehensive guide to ensure you achieve salon quality results every single time.
Step 4: Adjust Timing and Processing Methods
Precise timing and processing are critical elements that determine the success of a lash lift procedure. Professional technicians must understand that each client’s lashes respond differently to lifting solutions, requiring a nuanced and individualized approach.
The key to successful processing involves carefully monitoring lash reaction and adjusting timing based on several important factors. Consider the natural lash thickness, texture, and previous chemical treatments. Typically, fine or damaged lashes require shorter processing times to prevent over treatment. Thicker or more resilient lashes might need slightly longer solution application. Watch for visual cues like lash curl development and texture changes. A good rule of thumb is to start with the manufacturer’s recommended processing time and then make subtle adjustments based on your client’s unique lash characteristics.
One critical warning: never exceed recommended processing times. Even 30 seconds can mean the difference between a beautiful lift and potential lash damage. For additional professional insights into precise lash lift techniques, explore our comprehensive lash lift process guide that breaks down expert methods for achieving consistent results.
Step 5: Verify Results and Maintain Lash Health
The final stage of a successful lash lift is a comprehensive verification process that ensures both aesthetic perfection and ongoing lash wellness. According to Cleveland Clinic, regularly assessing lash condition post-lift is crucial for identifying and addressing potential issues before they escalate.
Carefully examine the lifted lashes from multiple angles under good lighting. Look for consistent curl pattern, symmetry between both eyes, and lash health indicators such as shine, flexibility, and absence of brittleness. Pay special attention to the lash roots and tips. The ideal lift should create a natural upward curve that opens the eyes without appearing artificial or overstretched. Gently run a clean spoolie through the lashes to check for even separation and smooth movement. Note any areas of uneven lifting or potential damage that might require touch ups or future adjustment.
One critical warning: if you notice any signs of irritation, unusual dryness, or lash breakage, advise your client to avoid further chemical treatments and consult a professional. For more in-depth guidance on maintaining optimal lash health, explore our comprehensive lash lift care guide that provides expert insights into long-term lash maintenance.
Solve Common Lash Lift Issues with Professional Tools and Compounds
If you have faced uneven curls, overprocessed lashes, or difficulty in solution application as outlined in the “Lash Lift Troubleshooting Guide for Flawless Results,” the right products can make all the difference. Many lash professionals find that selecting the perfect Professional Lash Lift Compounds and pairing them with quality Lash Lift Shields & Pads | Pro Silicone Tools USA improves precision and consistency dramatically. These essential tools help you avoid common mistakes like improper rod size choice or weak solution application.

Experience the confidence that comes with reliable supplies designed specifically for flawless lash lifts. Visit Fraustore USA now to explore our full range of professional lash lift compounds, shields, and glues. Take the next step in mastering lash lifts today by choosing products that help you precisely control timing, solution strength, and lash health for stunning, durable results.
Frequently Asked Questions
What should I do if my client’s lash lift looks uneven?
To fix uneven lash lifts, assess individual lash placement and adhesive application. Ensure that each lash is properly secured to the silicone pad before applying the solution. If necessary, perform touch-ups to remedy inconsistent curl patterns.
How can I tell if I’m overprocessing my client’s lashes during a lift?
Watch for signs such as excessive dryness or brittleness in the lashes. If you notice these symptoms, stop the process immediately and assess the timing used. Reduce the processing time by 30 seconds for next time to prevent damage.
What steps can I take to improve client satisfaction with lash lift results?
Conduct a thorough consultation to understand your client’s lash health and previous treatments. Follow best practices in lash preparation and solution application, adjusting timing based on their unique lash characteristics to achieve more consistent results.
How do I assess the health of my client’s lashes before a lift?
Examine the lashes visually for signs of irritation, damage, or unusual sensitivity. Perform a tactile assessment by gently feeling the lashes; if they are brittle or weak, advise against proceeding with the lash lift.
What signals indicate that a lash lift has been successful?
A successful lash lift should display a natural curl, symmetry between the eyes, and healthy, flexible lashes. After lifting, gently run a clean spoolie through the lashes to check for even separation, confirming the lift’s quality and style.
How can I maintain the health of my client’s lashes after a lift?
Instruct your client to avoid further chemical treatments and to care for their lashes with a light conditioning product. Regular follow-ups, ideally every 4-6 weeks, will help monitor their lash health and ensure optimal results.
