Master Brow Lifting Technique for Flawless Results
More than 65 percent of American clients now request brow lifting as part of their beauty routine. This surge in demand means professionals need flawless technique from start to finish. Mastering each step, from creating a clean workspace to perfecting symmetry, lays the foundation for consistent, stunning results that set your services apart in a competitive American market.
Table of Contents
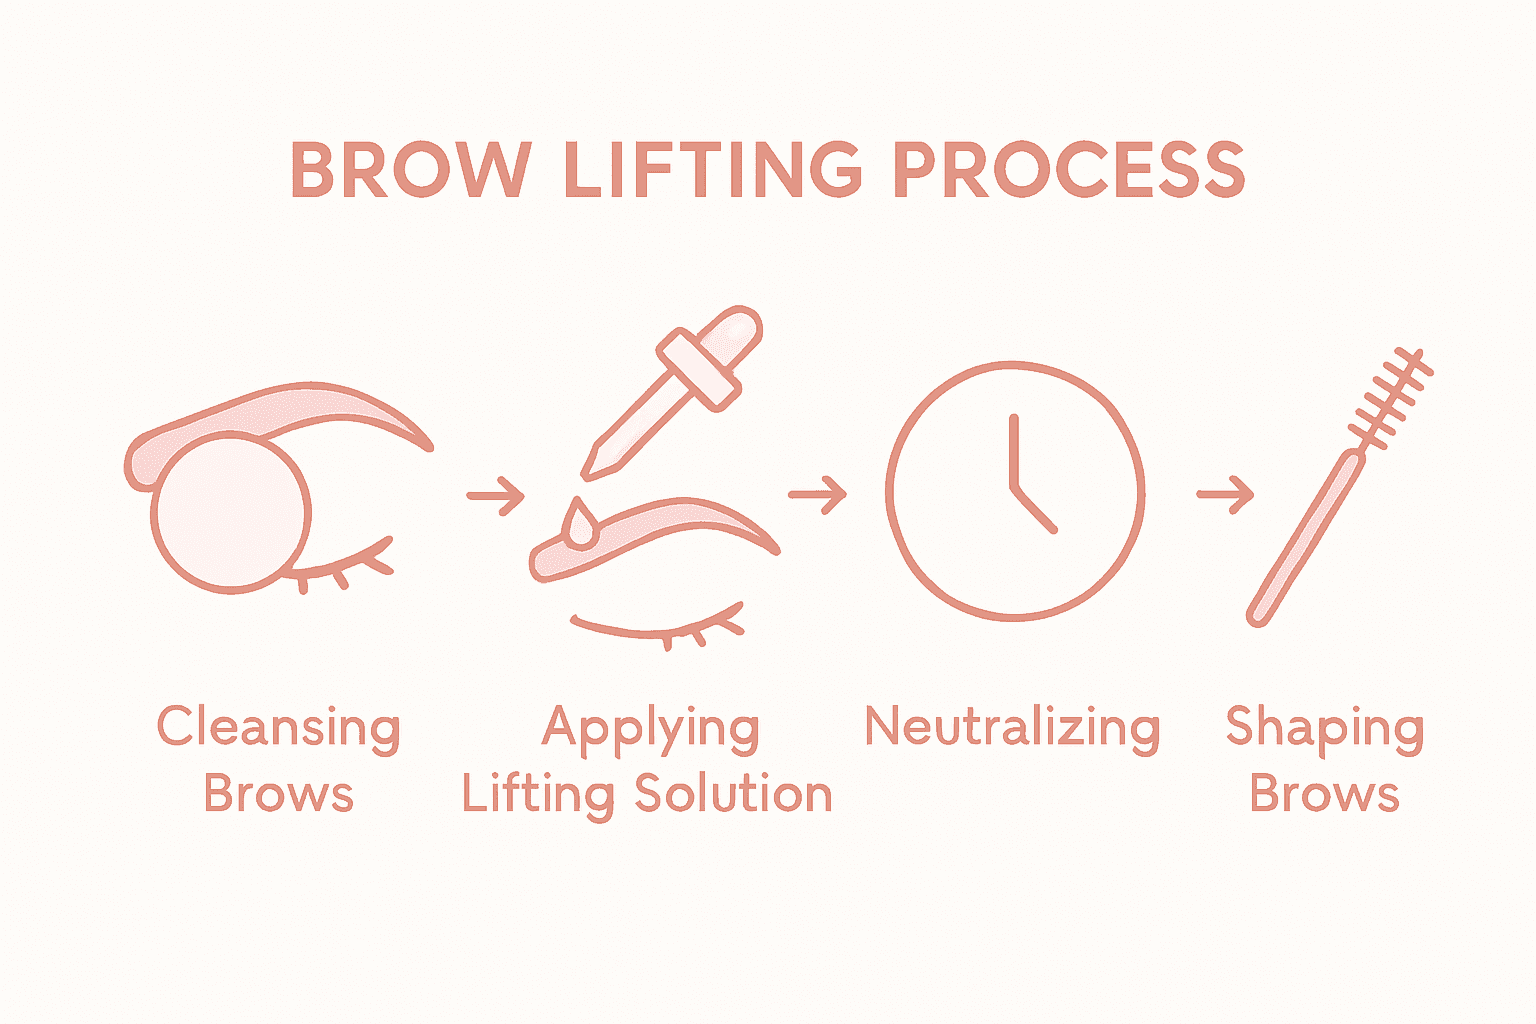
- Step 1: Prepare Brows and Gather Lifting Supplies
- Step 2: Cleanse and Protect Natural Brow Area
- Step 3: Apply Lifting Solution and Shape Brows
- Step 4: Set Brows With Neutralizer for Lasting Hold
- Step 5: Assess and Perfect Brows for Symmetry
Quick Summary
| Key Point | Explanation |
|---|---|
| 1. Thoroughly Prepare Supplies | Gather essential tools like brow lifting solution, neutralizer, and applicator brushes for an efficient workflow. |
| 2. Clean and Protect Skin Area | Remove all makeup and use a barrier cream to safeguard sensitive skin around the brows from chemical exposure. |
| 3. Apply Solutions with Precision | Ensure even application of the lifting solution, following hair growth direction for the desired shape. |
| 4. Properly Neutralize for Hold | Use the neutralizing solution per instructions to set the newly shaped brows for lasting results. |
| 5. Assess and Adjust for Symmetry | Evaluate brow shape from multiple angles and fine-tune any asymmetries for a polished appearance. |
Step 1: Prepare Brows and Gather Lifting Supplies
Preparing for a professional brow lift requires strategic planning and the right supplies. Your goal in this initial stage is to create a clean workspace and assemble all necessary tools to ensure a smooth and precise brow transformation.
Start by thoroughly cleaning the brow area with a gentle makeup remover and cotton pad. Remove all traces of makeup, oils, and residue to create an optimal surface for the lifting process. Next, gather your essential supplies: brow lifting solution, developer, protective eye patches, applicator brushes, spoolies, measuring tools, and disposable gloves. Professional brow preparation techniques recommend creating a sanitized workspace with all materials within easy reach.
Before beginning the procedure, perform a thorough client consultation and patch test. Check for any skin sensitivities or allergies that might impact the lifting process. Ensure your client understands the procedure and has realistic expectations about the results. Lay out your tools in the order you will use them, creating an efficient workflow that minimizes interruptions during the treatment.
Pro tip: Always keep a neutralizing solution nearby and perform a strand test to determine the optimal processing time for each individual client’s brow hair texture and desired lift intensity.
Here’s a quick summary of key brow lifting supplies and their purposes:
| Tool/Supply | Purpose | Professional Benefit |
|---|---|---|
| Brow lifting solution | Softens hair bonds for reshaping | Enables brow restructuring |
| Neutralizing solution | Sets new hair shape | Ensures long-lasting results |
| Applicator brushes | Applies solutions with precision | Reduces product waste, increases control |
| Spoolie brush | Styles and shapes brow hairs | Creates desired final appearance |
| Barrier cream/petroleum | Protects surrounding skin | Prevents skin irritation |
| Disposable gloves | Maintains hygiene and safety | Reduces contamination risk |
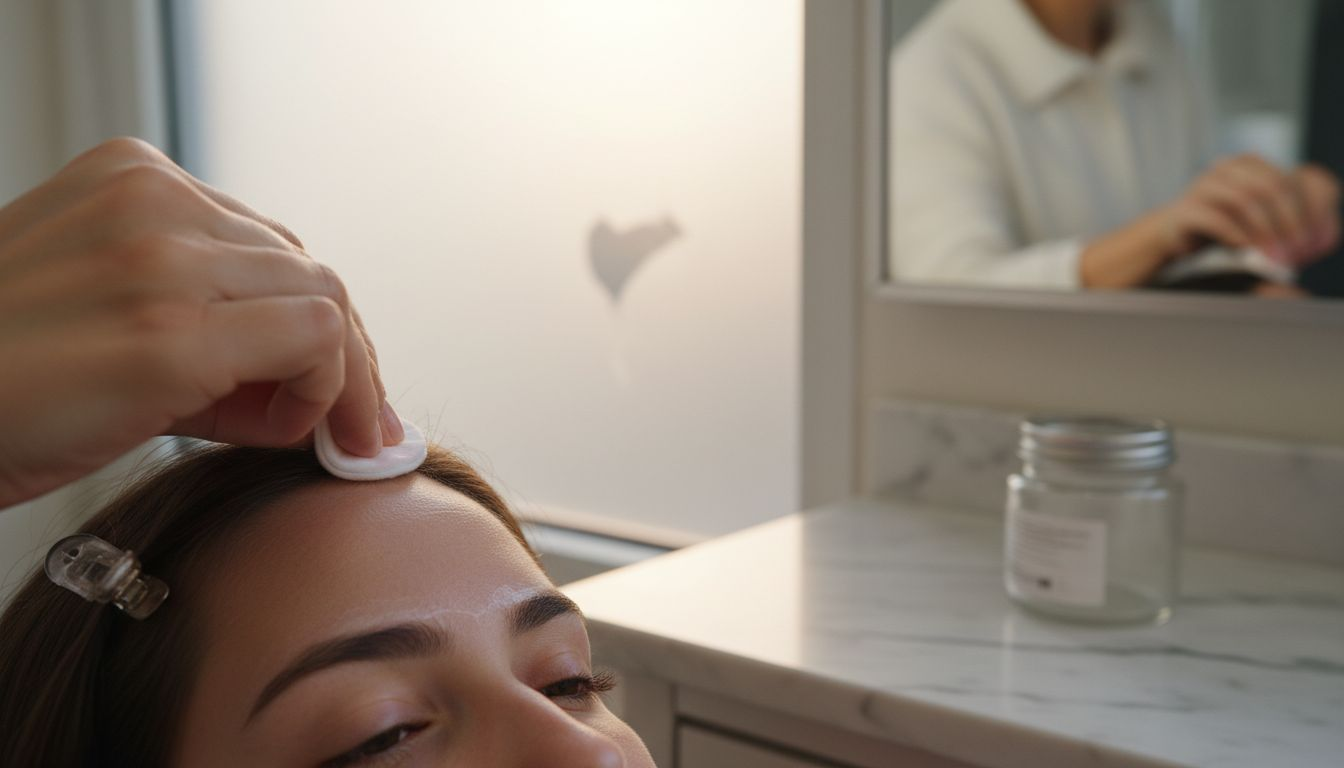
Step 2: Cleanse and Protect Natural Brow Area
Cleansing and protecting the natural brow area is a critical preparation step that ensures optimal results for your brow lifting technique. This phase sets the foundation for a successful and safe treatment by creating the perfect canvas for transformation.
Begin by thoroughly removing all makeup, oils, and residue using a gentle yet effective makeup remover. Select a specialized brow preparation solution that will not irritate the delicate skin around the eyebrows. Use soft cotton pads and perform a gentle but comprehensive cleaning motion from the inner corner of the brow to the outer edge. Pay special attention to removing any traces of makeup or skincare products that might interfere with the lifting process.
Next, apply a protective barrier cream around the brow area to shield the surrounding skin from potential chemical exposure. Use a thin layer of petroleum jelly or a specialized skin protectant to create a protective boundary that prevents lifting solution from contacting sensitive skin. Carefully apply the barrier using a clean cotton swab, ensuring complete coverage of the skin immediately adjacent to the brow hairs without touching the brows themselves.
Pro tip: Always perform a patch test 24 hours before the full brow lifting procedure to check for potential allergic reactions or skin sensitivities and ensure maximum client safety.
Step 3: Apply Lifting Solution and Shape Brows
Applying the lifting solution and strategically shaping brows requires precision and careful technique. This crucial step transforms your client’s eyebrows from ordinary to extraordinary by creating a perfectly defined and sculpted look.
Begin the lifting process by carefully selecting and applying the first solution according to the manufacturer’s instructions. Using a clean, precise applicator brush, distribute the solution evenly across the brow hairs from root to tip. Ensure complete coverage while avoiding excessive saturation. Work methodically to maintain uniform application, paying special attention to the direction of hair growth and desired final shape.
After the initial solution processing time, gently remove the product using soft cotton pads. Next, apply the neutralizing solution to set the new brow shape. Use a spoolie brush to carefully comb and direct brow hairs into the desired position. This is your opportunity to create a lifted, defined look that complements your client’s facial structure. Brush hairs upward and outward, creating a soft arch that opens up the eye area and provides a natural yet polished appearance.
Pro tip: Always keep a clean spoolie and small scissors nearby to trim any stray hairs and refine the brow shape immediately after the lifting process for a truly professional finish.
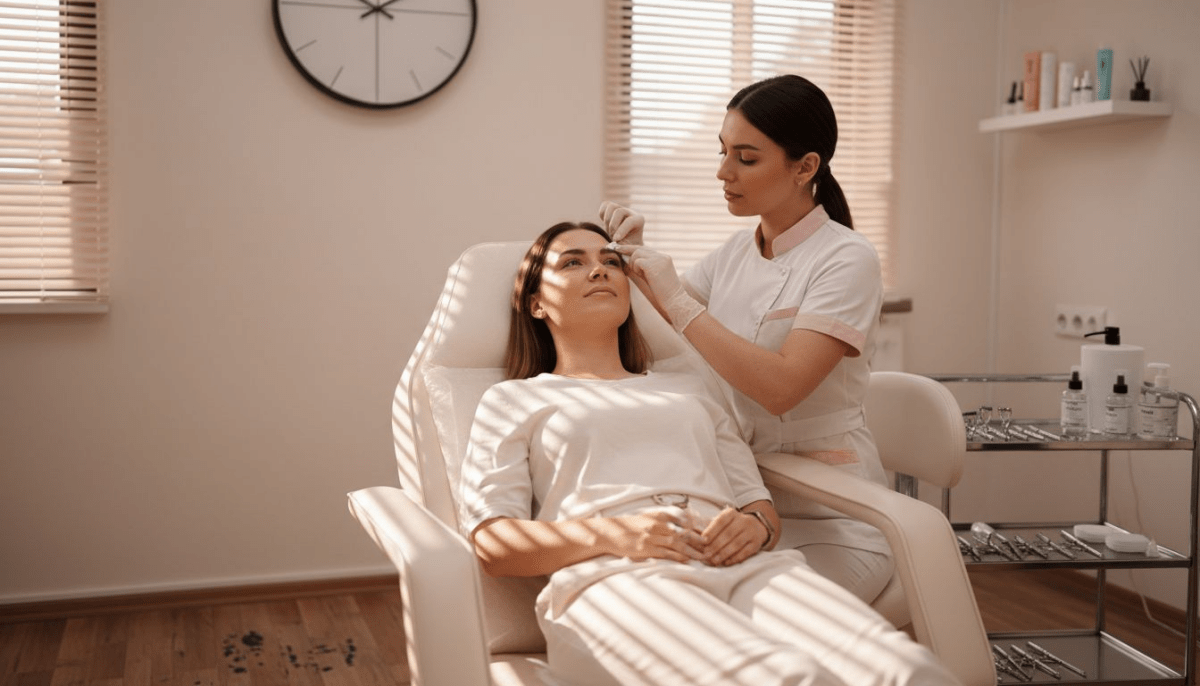
Step 4: Set Brows With Neutralizer for Lasting Hold
The neutralizing stage represents the critical moment where your brow lifting technique transforms from technical process to stunning visual result. This step secures the newly shaped brows and ensures a long lasting lift that will delight your client.
Carefully apply the neutralizing solution according to the manufacturer’s recommended processing time. Use a clean applicator brush to distribute the product evenly across the brow hairs. Work systematically from the inner corner to the outer edge, ensuring complete and uniform coverage. The neutralizer stops the chemical lifting process and sets the new brow shape in place. Press the product gently into the hair using soft dabbing motions to maximize absorption and effectiveness.
After the recommended processing time, remove the neutralizer thoroughly using soft cotton pads. Gently pat the brow area dry with a clean towel. At this point, assess the brow shape and make any final adjustments. Use a spoolie brush to comb the hairs into the desired position one final time. The neutralizer will have locked in the lifted shape, creating a smooth polished look that frames the eyes beautifully.
Pro tip: Always keep a small handheld mirror nearby during the neutralizing process to check the symmetry and shape of the brows from multiple angles.
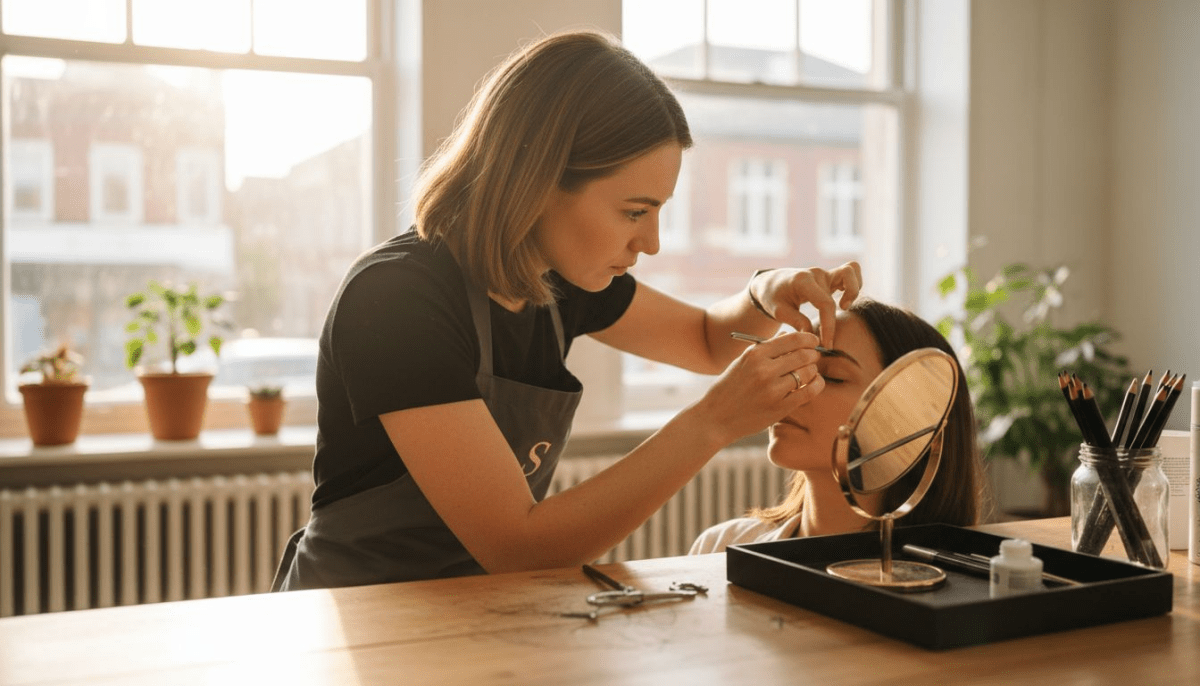
Step 5: Assess and Perfect Brows for Symmetry
The final stage of brow lifting transforms your technical work into an artistic masterpiece by meticulously perfecting shape and symmetry. This critical moment determines whether the treatment delivers a professional salon quality result or an amateurish appearance.
Begin by carefully evaluating the brow shape using precision techniques that ensure perfect symmetry. Use fine tweezers to remove any stray hairs that disrupt the clean lifted line. Look at the brows from multiple angles including straight on and at 45 degree profiles. Check that the arch height matches on both sides and the tail ends align perfectly. Gently trim any longer hairs with small grooming scissors to create a uniform length and crisp defined shape.
Use strategic shaping techniques to balance slight natural asymmetries in facial structure. Focus on creating an overall harmonious look rather than attempting exact mathematical precision. Slightly adjust the brow shape to complement your client’s unique facial features by subtly modifying the arch height or tail length. A handheld mirror will help you and your client visualize the final look and make minute refinements that elevate the entire brow lifting treatment.
Pro tip: Invest in professional lighting that mimics natural daylight to ensure the most accurate symmetry assessment during your brow lifting procedure.
Compare the objectives and results of each major step:
| Step | Main Objective | Desired Outcome |
|---|---|---|
| Step 1: Preparation | Clean, assemble tools, consult client | Safe, organized start |
| Step 2: Cleanse & Protect | Remove residues, guard skin | Prevents reactions, optimal canvas |
| Step 3: Apply & Shape | Apply solutions, refine shape | Defined, lifted brow structure |
| Step 4: Neutralize & Hold | Set shape, remove chemicals | Long-lasting, finished look |
| Step 5: Assess & Perfect | Review, enforce symmetry, trim | Polished, symmetrical brows |
Elevate Your Brow Lifting Technique with Professional Tools and Products
Mastering brow lifting means focusing on precision, protection, and perfect shaping. This article highlights challenges like preparing the brow area, applying lifting solutions carefully, and achieving lasting, symmetrical results. If you aim to deliver flawless, salon-worthy brows that truly impress your clients, using the right professional supplies makes all the difference.
Discover high-quality products designed to simplify each step of the brow lifting process. From gentle protective barriers to effective lifting and neutralizing solutions, the LOVELY BROWS collection offers expertly formulated kits and tools that support your technique and enhance client satisfaction.

Ready to transform your brow lifting services and ensure every treatment is a success Take the next step by exploring our curated range at Fraustore USA and equip yourself with top-tier items from SCULPTOR USA Lash & Brow Products and EKKO BEAUTY. Act now to provide flawless, lasting results your clients will love.
Frequently Asked Questions
What are the essential supplies needed for brow lifting?
To achieve flawless brow lifting results, you will need a brow lifting solution, developer, protective eye patches, applicator brushes, spoolies, measuring tools, and disposable gloves. Gather all these supplies before starting to ensure an organized and efficient procedure.
How can I ensure the safety of my client during a brow lifting procedure?
Always perform a thorough client consultation and a patch test 24 hours prior to the treatment. This practice checks for skin sensitivities or allergies that could impact the lifting process and ensures that your client is informed and comfortable with the procedure.
What steps should I follow to apply the lifting solution correctly?
Begin by using a clean applicator brush to evenly distribute the lifting solution across the brow hairs from root to tip, avoiding excessive saturation. Follow the manufacturer’s instructions for processing time, and then gently remove the product using soft cotton pads before applying the neutralizing solution.
How can I achieve symmetry in the brows after lifting?
After the lifting procedure, carefully evaluate the brow shape from multiple angles to assess symmetry. Use fine tweezers to remove any stray hairs and small grooming scissors to trim longer hairs, making adjustments to enhance balance and complement your client’s facial features.
What should I do if my client has reactions to the lifting solutions?
If you notice any adverse reactions during or after the treatment, remove the lifting or neutralizing solution immediately and rinse the area with clean water. Always have a neutralizing solution on hand to address any reactions quickly and ensure client safety.
How can I maintain the results of a brow lift for a longer duration?
To prolong the effects of a brow lift, advise your clients to avoid excessive moisture, heat, and chemical exposure in the brow area for at least 24 hours post-treatment. Encourage them to follow proper aftercare and avoid touching or rubbing the brows unnecessarily.