Article: How to Laminate Brows for a Natural, Flawless Look
How to Laminate Brows for a Natural, Flawless Look
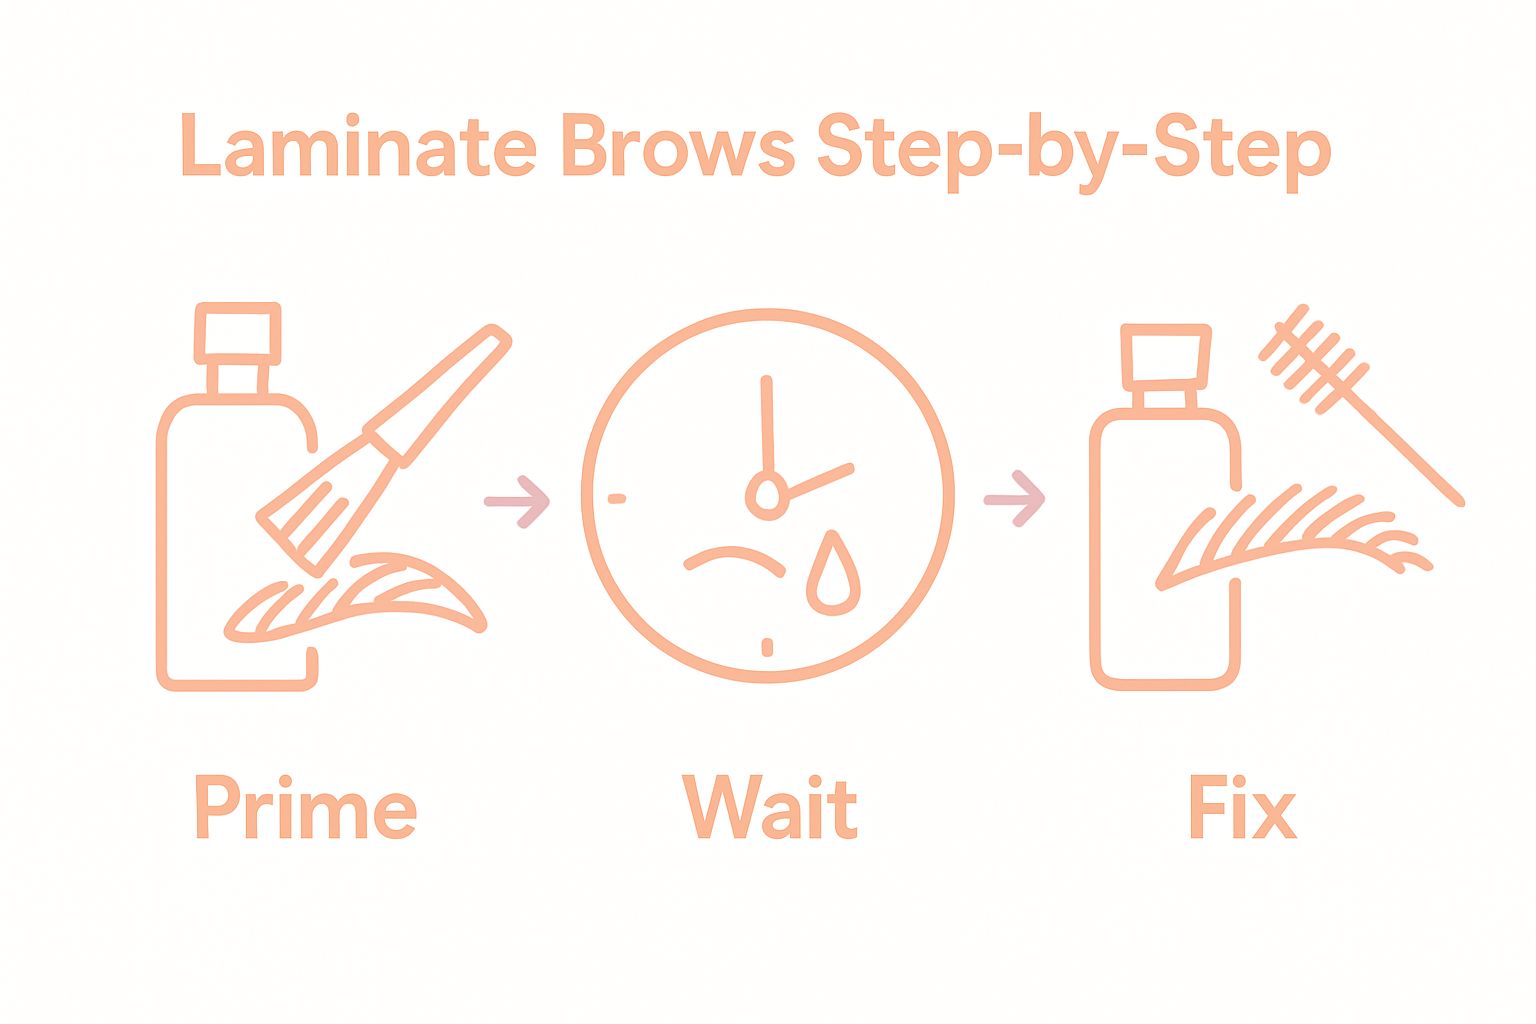
Brow lamination has exploded in popularity, promising sculpted and fuller-looking eyebrows that last for weeks. Professional brow lamination can keep your brows perfectly shaped for up to 6 weeks with the right products and care. Yet most people think the magic happens at the salon. Reality check. The secret to flawless, natural-looking brows actually starts with what you do before the first product even touches your skin.
Table of Contents
- Step 1: Gather All Necessary Supplies And Products
- Step 2: Prepare The Eyebrows For Lamination
- Step 3: Apply The Primer To The Brows
- Step 4: Use The Lifting Solution On The Brows
- Step 5: Set The Brows With The Fixing Solution
- Step 6: Evaluate The Results And Provide Aftercare
Quick Summary
| Key Point | Explanation |
|---|---|
| 1. Gather essential supplies before starting | Having a complete brow lamination kit is crucial for success, including lifting solutions, a fixing cream, and applicators. |
| 2. Clean and prepare your eyebrows | Properly cleanse and map out your brows for the best results, ensuring they are free from makeup and oils. |
| 3. Apply high-quality primer evenly | A well-applied primer softens brow hairs and prepares them for lifting. Ensure even distribution for optimal results. |
| 4. Carefully use lifting and fixing solutions | Apply lifting and fixing solutions methodically to reshape and secure your brows in place without oversaturation. |
| 5. Follow strict aftercare guidelines | Keep brows dry and avoid makeup for 24-48 hours post-treatment to ensure lasting results and prevent irritation. |
Step 1: Gather all necessary supplies and products
Successful brow lamination begins with meticulous preparation and gathering the right professional tools and products. This critical first step sets the foundation for achieving stunning, perfectly sculpted brows that look natural and beautifully defined.
To start your brow lamination journey, you’ll need a comprehensive kit that includes specialized products designed to transform and set your eyebrow hairs. Your essential toolkit should consist of professional-grade products that work harmoniously to lift, shape, and hold your brow hairs in place.
Your core brow lamination kit will typically include several key components:
- Brow lifting/perming solution
- Neutralizing solution
- Brow fixing or setting cream
- Soft applicator brushes
- Protective barrier cream
- Nourishing post-treatment oil
Before starting the process, carefully inspect each product to ensure they are not expired and are specifically formulated for brow lamination. According to professional beauty guidelines, using high-quality, specialized products is crucial for achieving safe and stunning results.
Professional estheticians recommend creating a clean, organized workspace with good lighting and all supplies within easy reach. This preparation minimizes interruptions and helps maintain a precise, controlled application process. Have clean cotton pads, disposable applicators, and gentle makeup remover nearby for any potential corrections or cleanup.
Additionally, protect your work surface with disposable paper or a clean towel, and wear gloves to maintain hygiene and protect your hands from chemical solutions. Consider having a small mirror positioned at a comfortable angle to help you monitor your brow shape and application technique throughout the lamination process.
By meticulously gathering and preparing your supplies, you create the ideal conditions for a successful brow lamination that will leave your eyebrows looking perfectly groomed and elegantly structured.
Below is a table summarizing the essential brow lamination supplies, including each item’s purpose for the process:
| Product/Supply | Purpose |
|---|---|
| Brow lifting/perming solution | Softens and lifts brow hairs |
| Neutralizing solution | Stops the chemical process and resets hair |
| Brow fixing or setting cream | Holds brows in new shape |
| Soft applicator brushes | Applies solutions evenly |
| Protective barrier cream | Shields skin from irritation |
| Nourishing post-treatment oil | Conditions and soothes brows after treatment |
| Clean cotton pads | For gentle cleansing and cleanup |
| Disposable applicators | Maintains hygiene during application |
| Gentle makeup remover | Preps brows by removing residue |
Step 2: Prepare the eyebrows for lamination
Preparing your eyebrows is a crucial step that determines the success and longevity of your brow lamination results. This preparatory phase ensures that your brow hairs are clean, primed, and ready to be transformed into a perfectly styled, natural-looking masterpiece.
Thorough cleansing is the cornerstone of effective brow preparation. Begin by completely removing any traces of makeup, oils, or skincare products from your eyebrow area. Use a gentle, oil-free makeup remover or micrographic cleanser applied with a soft cotton pad. Gently sweep the product across your brows, ensuring you remove all residue without rubbing harshly against the delicate skin around your eyes.
After cleansing, you’ll want to map out and shape your brows precisely. Take a moment to brush your eyebrow hairs upward using a clean spoolie brush, which helps you understand their natural growth pattern and identify any areas that might need extra attention. This step is critical for achieving a uniform, well-groomed look during the lamination process.
For those interested in learning more about the intricacies of brow styling, check out our comprehensive guide on brow lamination techniques to gain deeper insights into professional application methods.
Next, apply a thin layer of protective barrier cream around the eyebrow area. This creates a shield that prevents the lamination solutions from irritating the surrounding skin. Use your fingertip or a clean cotton swab to apply the cream, being careful to create a precise boundary that follows the natural shape of your brows.
Before proceeding, do a final check to ensure your brows are completely clean and free from any product. Gently pat the area dry with a clean, lint-free towel.
Here is a checklist summarizing how to verify your brows are properly prepared before beginning the lamination process:
| Preparation Check | What to Look For |
|---|---|
| Clean Brows | Free of makeup and oils |
| Calm Skin | No redness or irritation |
| Brushed Hairs | Brows brushed upward neatly |
| Barrier Cream | Even application around brows |
| Dry Surface | Area patted dry with lint-free towel |
Look for these signs of proper preparation:
- Brows appear clean and free of any makeup or oils
- Skin around the brows looks calm and not irritated
- Brow hairs are brushed neatly in an upward direction
- Protective barrier cream is applied evenly
Professional estheticians recommend taking your time during this preparation stage. Rushing through the cleansing and mapping process can compromise the final results of your brow lamination. Patience and precision are your best tools for achieving those perfectly sculpted, natural-looking brows.
According to professional beauty guidelines, proper preparation not only ensures better product adhesion but also protects your skin and hair during the lamination process.
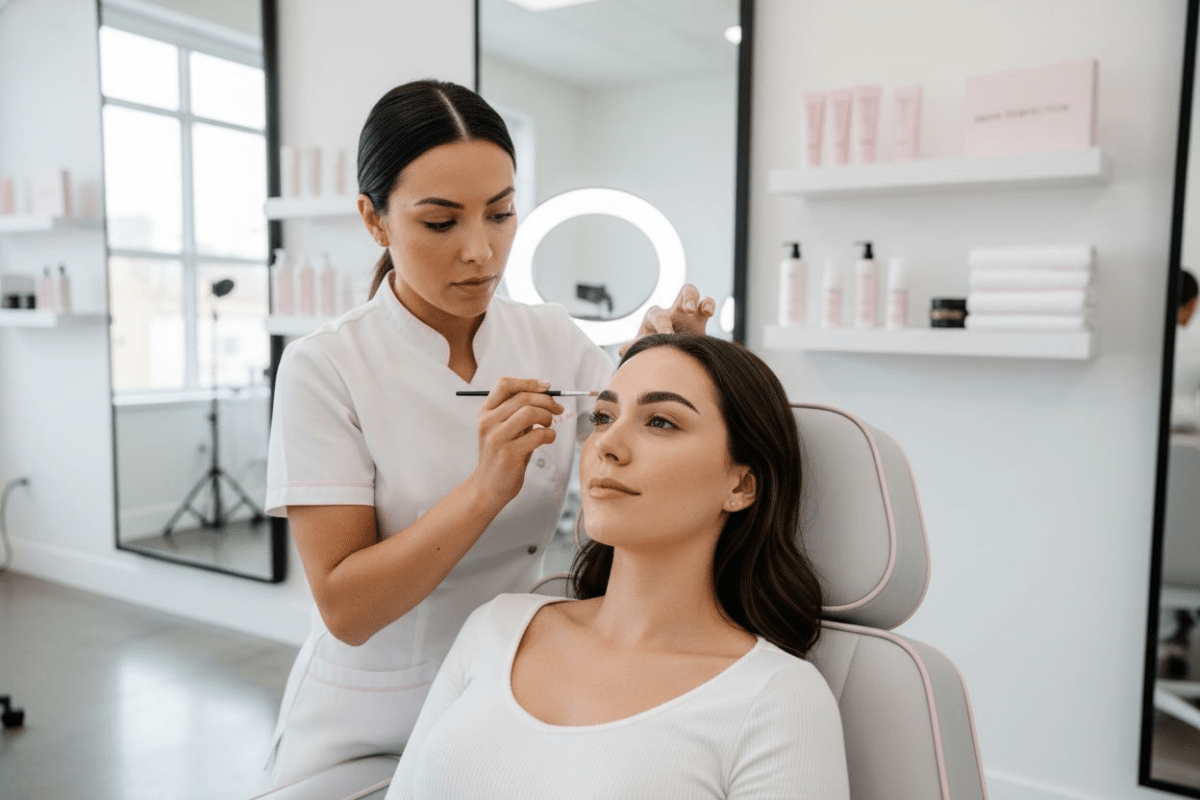
Step 3: Apply the primer to the brows
The primer application is a critical phase in brow lamination that sets the foundation for achieving beautifully structured and perfectly aligned eyebrow hairs. This step prepares your brows for the transformative process ahead, ensuring optimal product absorption and long-lasting results.
Precision is key when applying the primer. Select a high-quality, professional-grade brow primer specifically designed for lamination treatments. Before application, ensure your spoolie brush is clean and that you have excellent lighting to see every fine detail of your brow area.
Begin by dipping your clean spoolie brush lightly into the primer solution. You want a minimal amount of product - just enough to coat the brow hairs without oversaturating them. Brush the primer through your eyebrow hairs in an upward motion, following the natural growth direction established during your initial brow mapping. This technique helps separate and prepare each individual hair for the upcoming lifting process.
For those looking to enhance their brow care routine, explore our professional brow treatment solutions that complement the lamination process and support long-term brow health.
Work methodically, ensuring complete and even coverage across your entire brow. Pay special attention to the direction and alignment of each hair, gently guiding them into the desired shape. The primer will help break down the hair’s natural structure, making it more receptive to the subsequent lifting solution.
As you apply the primer, watch for these key indicators of proper application:
- Brow hairs appear slightly softened and more malleable
- Primer is distributed evenly without clumping
- Each hair is coated from root to tip
- No excess solution is dripping or pooling on the skin
According to professional beauty guidelines, the primer stage is crucial for creating a clean, receptive surface that allows the lamination solutions to work effectively. Take your time and be patient during this process, as rushing can lead to uneven results or potential skin irritation.
After application, allow the primer to sit for the recommended time specified in your professional lamination kit instructions - typically between 5 to 7 minutes. During this waiting period, the primer will gently soften the hair cuticle, preparing it for the transformative lifting solution that follows. Resist the urge to touch or disturb your brows during this critical preparation phase.
Step 4: Use the lifting solution on the brows
The lifting solution represents the transformative heart of brow lamination, where your eyebrow hairs are chemically reshaped to create a stunning, uniform appearance. This critical step requires precision, patience, and a delicate touch to achieve those perfectly sculpted, natural-looking brows.
Applying the lifting solution demands meticulous attention to detail. Begin by ensuring your brows are still positioned in the upward direction from the previous primer application. Use a clean, precise applicator to distribute the lifting solution evenly across your eyebrow hairs, working methodically from the inner corner to the outer edge.
Dip your applicator into the lifting solution, removing any excess to prevent dripping. Apply a thin, uniform layer, carefully coating each hair from root to tip. The goal is complete coverage without oversaturating the brow or allowing solution to pool on the skin. Move your applicator in gentle, deliberate strokes, ensuring every hair is consistently treated.
For those seeking professional-grade tools to enhance their brow lamination technique, explore our specialized brow lamination kits designed to support precise application.
Watch the clock carefully during this phase. Most professional lifting solutions require a specific processing time typically ranging between 6 to 10 minutes. Temperature and timing are crucial. Keep the treated area at a consistent, comfortable temperature to help the solution work effectively without causing unnecessary stress to the hair or skin.
As the lifting solution works its magic, observe these key indicators of proper application:
- Brow hairs appear softer and more malleable
- Solution is distributed evenly without clumping
- No excessive dripping or pooling on the skin
- Brows maintain the upward, structured position
According to professional beauty guidelines, the lifting solution breaks down the hair’s natural keratin bonds, allowing for reshaping and repositioning. This chemical process is what enables the dramatic transformation from unruly to perfectly aligned brows.
Remain vigilant and resist the temptation to touch or disturb your brows during the processing time. Any unnecessary movement could disrupt the solution’s effectiveness and compromise your final result. Once the recommended time has elapsed, you’ll be ready to move to the next crucial step in creating your flawless, laminated brows.
Step 5: Set the brows with the fixing solution
The fixing solution represents the final chemical transformation stage of brow lamination, where your meticulously shaped eyebrow hairs are permanently set into their desired position. This crucial step locks in the stunning, uniform look you’ve carefully crafted during previous stages of the process.
Precision is paramount when applying the fixing solution. Unlike previous steps, this solution will stabilize the new shape of your brow hairs, essentially creating a semi-permanent structure that maintains your desired aesthetic. Begin by ensuring your applicator is clean and your brows are still positioned in the perfectly aligned upward direction established during earlier stages.
Carefully apply a thin, even layer of fixing solution across your brows, using gentle and deliberate strokes. Work methodically from the inner corner to the outer edge, ensuring complete coverage without oversaturating the hair or allowing excess solution to drip onto the skin. The goal is a uniform application that solidifies the hair’s new shape without creating clumps or uneven texture.
For professionals seeking advanced tools, explore our specialized brow lamination fixing solutions designed to support precise and long-lasting results.
Most professional fixing solutions require a specific processing time, typically between 5 to 7 minutes. During this period, resist any temptation to touch or disturb your brows. Maintain a consistent, comfortable room temperature to support optimal solution performance and prevent potential skin irritation.
Watch for these key indicators of successful fixing solution application:
- Brow hairs appear structured and held in place
- Solution is distributed evenly without visible clumping
- No excess liquid pooling on the skin surface
- Brows maintain their initial upward, sculpted positioning
According to professional beauty guidelines, the fixing solution works by re-establishing the hair’s keratin bonds in their new configuration. This chemical process ensures that your beautifully aligned brows will maintain their shape for several weeks.
Once the recommended processing time has elapsed, you’ll be ready to move to the final stages of your brow lamination journey. The fixing solution represents the pivotal moment where your carefully crafted brow transformation becomes a reality, setting the stage for a flawless, natural-looking result that enhances your entire facial aesthetic.
Step 6: Evaluate the results and provide aftercare
The final stage of brow lamination is a critical moment of assessment and maintenance, where you transform your newly styled brows from a technical procedure into a long-lasting, stunning aesthetic feature. This step involves carefully examining your results and implementing a strategic aftercare routine to preserve the shape and health of your eyebrows.
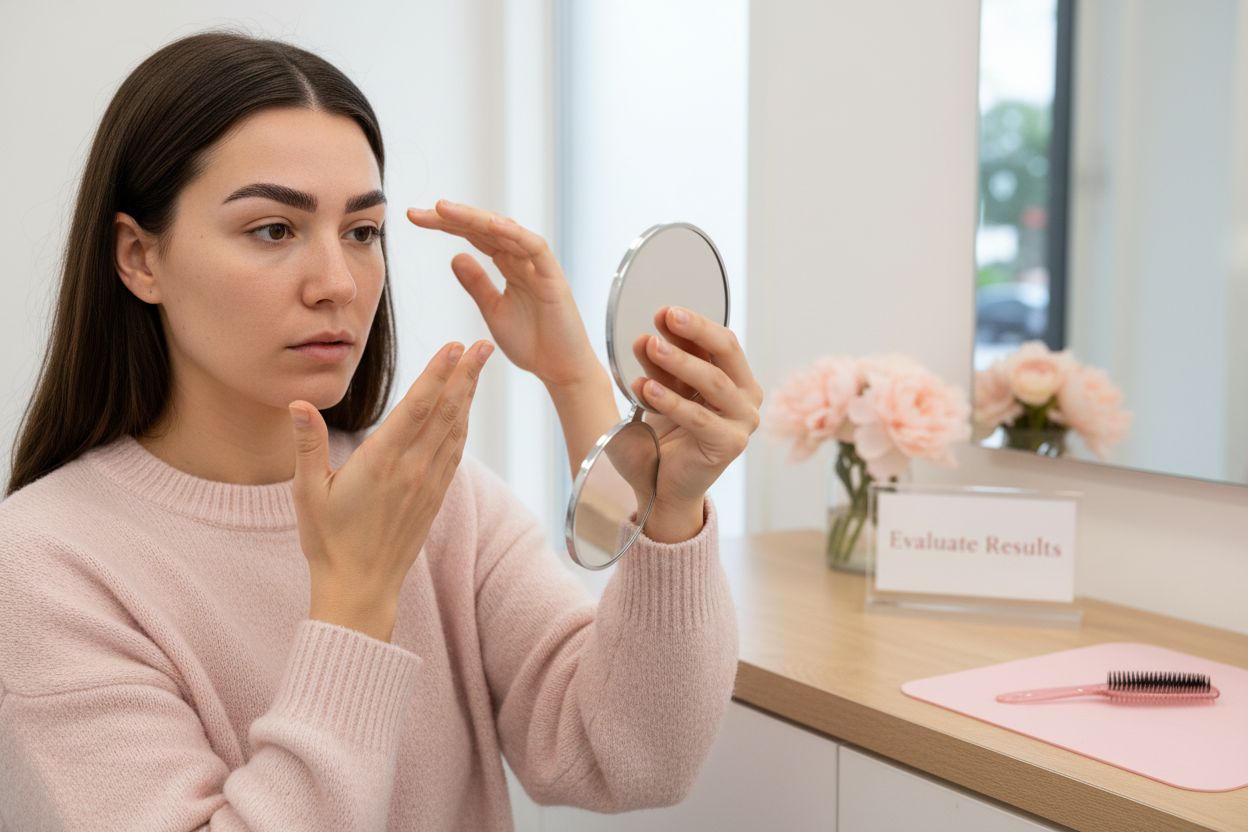
Initial visual evaluation is key to confirming a successful lamination. Immediately after completing the fixing solution stage, examine your brows in natural and artificial lighting. Look for a uniform, well-structured appearance where each hair sits perfectly aligned, creating a soft, brushed-up effect that looks natural yet dramatically enhanced.
Pay close attention to symmetry between both brows, ensuring they maintain a balanced, harmonious look. Minor asymmetries can be gently corrected using a clean spoolie brush, but avoid excessive manipulation that might disrupt the newly set hair bonds.
For beauty enthusiasts seeking comprehensive guidance, explore our professional aftercare recommendations for laminated brows to maximize your treatment’s longevity and effectiveness.
Immediate aftercare is crucial for maintaining your brow lamination. For the first 24 to 48 hours following the treatment, implement a strict hands-off approach. Avoid getting your brows wet, exposing them to steam, or applying makeup. This critical period allows the chemical restructuring to fully set and stabilize.
Consider these essential aftercare guidelines:
- Keep brows completely dry for 24 hours post-treatment
- Avoid touching or brushing brows aggressively
- Skip swimming, saunas, and intense workouts
- Use only gentle, oil-free skincare products near brow area
- Sleep on your back to prevent disrupting brow shape
According to professional beauty research, proper aftercare can extend your brow lamination results from 4 to 6 weeks. To maintain the style, use a clear brow gel or specialized brow serum to keep hairs in place and nourished.
In the days following treatment, expect some slight settling of the brow shape. Your brows might appear more structured initially and then soften into a more natural-looking position. This is completely normal and part of the lamination process. If you notice any unexpected results or experience skin irritation, consult your beauty professional promptly.
Elevate Your Brow Lamination Results with Professional Solutions
Are you striving for naturally flawless, laminated brows but finding it difficult to achieve consistent, salon-quality results at home or in your treatments? The steps in our guide highlight just how important it is to use the right professional-grade products for thorough cleansing, precise application, and effective aftercare. Many readers face challenges with patchy lamination, uneven brow shaping, or irritation caused by the wrong formulas. If you want brows that look sculpted yet soft without risking damage, it is crucial to choose trusted tools and supplies trusted by the best in the industry. Explore our complete range of Brow Lamination Products for Professionals for everything you need in one place.

Start your journey to flawless, long-lasting brows today. Shop our SCULPTOR USA Lash & Brow Products or discover premium brands like MY LAMINATION USA for advanced kits and aftercare. For more resources and to browse all our expert beauty products, visit Fraustore USA now. Transform your brows with the confidence only professional supplies can deliver.
Frequently Asked Questions
How do I prepare my eyebrows for lamination?
To prepare your eyebrows for lamination, start by thoroughly cleansing the area to remove any makeup or oils. After cleansing, brush your brow hairs upward with a spoolie and apply a protective barrier cream to the skin around your brows.
How long does the brow lamination process take?
The entire brow lamination process typically takes about 45 to 60 minutes from start to finish. Allocate sufficient time not just for application but also for each solution to process appropriately, usually lasting anywhere from 5 to 10 minutes each.
How long will my laminated brows last?
Laminated brows generally last between 4 to 6 weeks, depending on your hair type and aftercare practices. Maintain your results by following the aftercare guidelines, such as keeping your brows dry for the first 24 hours after treatment.
Can I wear makeup after brow lamination?
It’s best to avoid wearing makeup on your brows for the first 24 to 48 hours after lamination. This period allows the solutions to fully set and stabilize, ensuring the longevity of your beautifully shaped brows.
What aftercare is needed for laminated brows?
After brow lamination, avoid getting your brows wet or exposing them to steam for 24 hours. To maintain your results, use gentle, oil-free skincare products around the brow area and consider applying a clear brow gel to keep hairs in place.
Is brow lamination safe for everyone?
Brow lamination is generally safe for most individuals, but those with sensitive skin or certain skin conditions should exercise caution. Conduct a patch test before the treatment to gauge any sensitivity and ensure you are using professional-grade products.